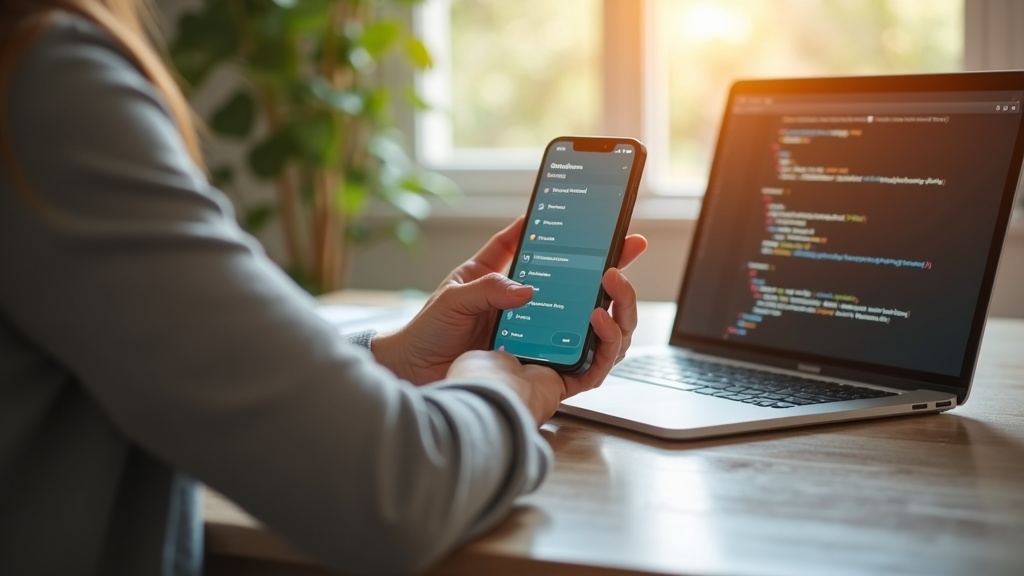
Your iPhone 15 Pro's VPN is supposed to hide your online activity, but a common flaw called a DNS leak can expose the websites you visit to your internet provider, even while the VPN is active. This is a critical privacy risk, especially when using sensitive banking apps or streaming services that track your location. This guide will show you exactly how to test for and fix DNS leaks on your iPhone, ensuring your financial data and viewing habits stay completely private.
What you’ll learn:
- How to quickly test your iPhone 15 Pro for DNS leaks.
- Step-by-step instructions to permanently fix the leak.
- Why this is especially important for banking and streaming apps.
What Is a DNS Leak and Why Should You Care?
Think of the Domain Name System (DNS) as the internet's phonebook. When you type “yourbank.com” into your browser, a DNS server translates that name into a numerical IP address so your device can connect. Normally, your VPN should route all these requests through its own private, secure DNS servers. A DNS leak occurs when these requests escape the VPN tunnel and are sent to your Internet Service Provider's (ISP) default servers instead.
This is a major problem. Your ISP can see every website you visit, even with your VPN connected. For banking, this means your financial institution could see your real location, potentially flagging your account for suspicious activity. For streaming, services like Netflix or Hulu can detect your true region, blocking you from accessing content libraries from other countries. A DNS leak essentially defeats the primary purpose of using a VPN for privacy and access.
How to Test Your iPhone 15 Pro for DNS Leaks
Fortunately, checking for a DNS leak is a simple process. You don't need to be a tech expert. Follow these steps to see if your connection is secure.
Step 1: Connect to Your VPN
First, open your VPN app and connect to a server in a location different from your own. For the most accurate test, choose a server in a distant country.
Step 2: Visit a DNS Leak Test Website
Open Safari on your iPhone and go to a reputable DNS leak testing site like DNSLeakTest.com. Run the “Extended test.” This will take a minute to complete.
Step 3: Analyze the Results
When the test finishes, it will show you a list of the DNS servers that responded. If you see servers listed that belong to your ISP or are located in your actual city and country, you have a DNS leak. If you only see servers from your VPN provider in the location you selected, your connection is secure. If a leak is detected, don't worry; the following section will guide you through the fixes.
Fixing DNS Leaks on Your iPhone 15 Pro
If your test revealed a leak, here are the most effective solutions, starting with the simplest.
Switch to a Leak-Proof VPN Provider
Often, the root cause of a DNS leak is a subpar VPN app. High-quality providers build DNS leak protection directly into their apps, and it's enabled by default. When you use a premium service, this feature automatically forces all DNS queries through the VPN's encrypted tunnel, preventing any data from escaping.
Our top recommendation for iPhone users is ExpressVPN. Its iOS app includes robust, automatic DNS leak protection, a proven no-logs policy, and incredibly fast speeds perfect for streaming and banking without interruptions. Switching to a provider that prioritizes this security is the most reliable long-term fix.
Best VPN This Month
NordVPN offers Threat Protection, which blocks malicious sites and ads, and has built-in DNS leak protection that works seamlessly on iOS. It's an excellent choice for securing your iPhone 15 Pro.
Manually Configure Your iPhone's DNS Settings
If you prefer to use your current VPN or your provider's app doesn't have built-in protection, you can manually set a secure DNS. This overrides your ISP's default servers.
- Go to Settings > Wi-Fi on your iPhone.
- Tap the “i” icon next to the Wi-Fi network you are connected to.
- Scroll down and tap Configure DNS.
- Select Manual.
- Tap Add Server and enter the address of a secure DNS service. We recommend using a privacy-focused provider like Cloudflare (
1.1.1.1) or your own VPN provider's DNS servers if they publish them. - Delete any existing servers listed to ensure only your chosen DNS is used.
- Tap Save in the top right.
Remember, this setting is network-specific. You will need to repeat this process for every new Wi-Fi network you join. For cellular data, you can find DNS settings under Settings > Cellular > Cellular Data Options > DNS.
Check Your VPN's Kill Switch Feature
A “kill switch” is a critical security feature that blocks all internet traffic if your VPN connection drops unexpectedly. This prevents any data, including DNS requests, from being sent over your regular connection during a brief disconnect. Check your VPN app's settings to ensure this feature is turned on. Not all iOS VPNs offer a true kill switch due to Apple's operating system restrictions, but the best ones, like Surfshark, implement effective workarounds.
Why Banking and Streaming Make DNS Leaks a Bigger Deal
The consequences of a DNS leak are amplified when using apps that are highly sensitive to your location and identity.
- Banking Apps: Financial institutions use sophisticated fraud detection. If they see login attempts from a VPN server in another country while your DNS requests originate from your home city, it can trigger a security alert, potentially locking your account. A DNS leak creates this conflicting data, putting your access at risk.
- Streaming Services: Platforms like Netflix, BBC iPlayer, and Disney+ enforce strict geo-blocks. They cross-reference your IP address with your DNS server location. If they don't match because of a leak, you'll be blocked from watching content or see an error message. Fixing the DNS leak is essential for seamless, buffer-free international streaming.
Your Next Steps for a Leak-Free iPhone
A DNS leak is a serious vulnerability, but it's one you have the power to fix. By testing your connection and implementing the solutions above—primarily by choosing a VPN with dedicated leak protection—you can use your iPhone 15 Pro with confidence. Your banking information will remain secure, and your streaming experience will be unrestricted.
Don't leave your privacy to chance. Secure your iPhone connection with a VPN that guarantees protection against DNS leaks today. For more detailed privacy strategies, explore our other privacy guides.


Join the discussion
Have a question or a fix to add? Share it below.