Your Synology NAS with Plex remote access could be exposing your real IP address and location due to DNS leaks, even when you're using a VPN. This privacy flaw allows your internet provider and other snoops to see every website you visit and service you connect to. This guide will show you exactly how to identify and permanently fix DNS leaks on your Synology NAS, ensuring your Plex streaming and all other traffic remain truly private.
What you’ll learn:
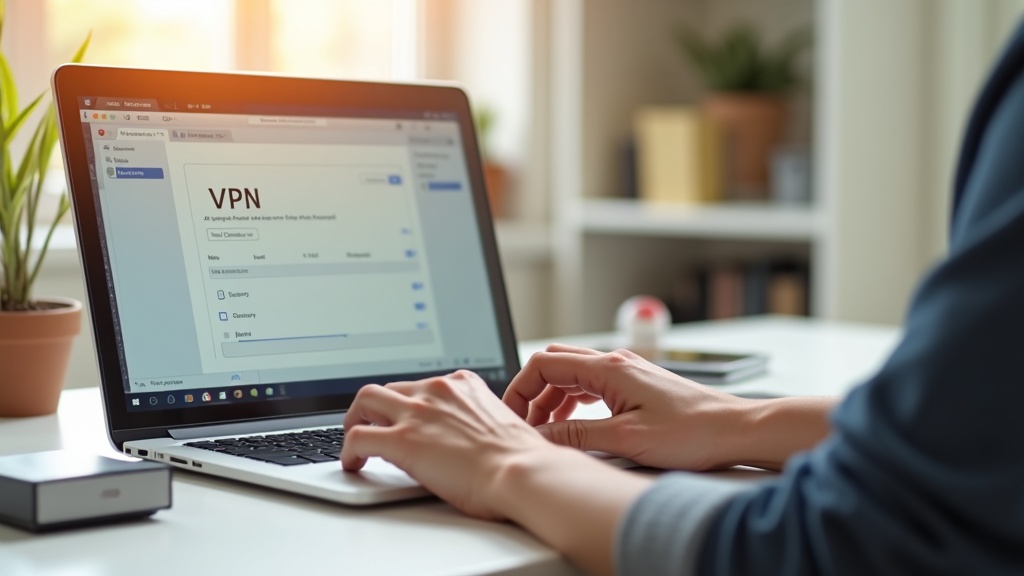
- How to test your Synology VPN connection for DNS leaks
- Step-by-step configuration to prevent leaks in DSM
- Why a quality VPN is essential for Plex remote access security
Why DNS Leaks Defeat Your VPN's Purpose
When you connect a VPN, all your internet traffic should route through an encrypted tunnel to the VPN server. This includes your DNS requests, which are like the phonebook of the internet, translating domain names like “plex.tv” into IP addresses. A DNS leak occurs when these requests bypass the VPN tunnel and get sent directly to your Internet Service Provider's DNS servers. This reveals your true location and a complete log of every service and website you access, completely undermining the privacy you sought with a VPN.
For Synology NAS users, this risk is amplified. Your device is always on, hosting personal data and media libraries. If you've set up Plex for remote access, a DNS leak could expose your home server's location and your connection habits to your ISP. Using a robust VPN provider like NordVPN is the first step, but proper configuration on the Synology side is what seals the deal.
How to Test for DNS Leaks on Your Synology NAS
Before making any changes, you need to know if you have a problem. The easiest way to check for a DNS leak is to use a web-based test from a device connected to the same network as your Synology NAS, or by using the Synology's own built-in tools.
Using Online Leak Test Tools
From a computer on your home network, open a browser and visit a DNS leak test website (like ipleak.net or dnsleaktest.com). Note the IP address and DNS servers it shows. Now, connect your Synology NAS to your VPN and run the test again. If the results show DNS servers belonging to your ISP instead of your VPN provider, you have a confirmed DNS leak.
Using the Synology Command Line
For a more direct test, you can use the Synology's Terminal app (found in Package Center).
- Open Terminal and connect via SSH or use the built-in console.
- Once connected to your VPN, type the command:
nslookup google.com - Look at the “Server” line in the output. It should show an IP address that belongs to your VPN provider, not your ISP. If it shows your router's IP (like 192.168.1.1) or a known ISP server, your DNS is leaking.
Step-by-Step Guide to Fixing DNS Leaks in DSM
Fixing a DNS leak on a Synology NAS involves telling the operating system (DSM) to exclusively use the DNS servers provided by your VPN. Here's how to lock it down.
Method 1: Configure DNS via the VPN Profile
This is the most effective method, as it forces DNS through the VPN tunnel.
- Open Control Panel > Network > Network Interface.
- Select your VPN profile and click Edit.
- Go to the Advanced Settings tab.
- Check the box for “Use default gateway on remote network.” This is crucial for routing all traffic, including DNS, through the VPN.
- Now, click the Manual radio button under “Configure DNS server.”
- Enter the DNS server addresses provided by your VPN. For example, NordVPN uses
103.86.96.100and103.86.99.100. (Always check your VPN's support page for the most current addresses). - Click OK and then Apply.
Reconnect your VPN and run the leak tests again. The DNS leak should now be resolved.
Method 2: Change the Global DNS Settings
If the above method doesn't work for your setup, you can change the DNS for the entire system, but note this will affect all network interfaces when the VPN is disconnected.
- Go to Control Panel > Network > General.
- Click Manual for DNS server.
- Enter a privacy-focused DNS like Cloudflare (
1.1.1.1) or Quad9 (9.9.9.9). While this isn't your VPN's DNS, it's better than leaking to your ISP. - Click Apply.
Best VPNs to Prevent DNS Leaks on Synology
Not all VPNs are created equal, especially when it comes to integration with NAS devices. The best providers offer dedicated apps for DSM and have built-in protection against DNS leaks.
Best VPN this month: NordVPN provides a native Synology VPN package, a strict no-logs policy, and its own DNS servers with robust leak protection enabled by default.
Other excellent choices include:
- Surfshark: Offers unlimited simultaneous connections, perfect for securing your NAS and all other household devices.
- ExpressVPN: Known for its high-speed connections and reliable security, with detailed setup guides for Synology.
- Private Internet Access (PIA): A configurable option for advanced users who want fine-grained control over their VPN settings.
For a deeper dive, check out our full VPN reviews to compare features and performance.
Plex Remote Access and VPN Considerations
Using a VPN with Plex remote access can be tricky. When your NAS is connected to a VPN, its public IP address changes, which can break the automatic remote access setup in Plex. You have two main options:
- Use Port Forwarding: Some VPNs, like PIA, offer port forwarding. You can manually forward a port (e.g., 32400) in the VPN client and then enter that port in Plex's manual remote access settings.
- Split Tunneling (if available): This advanced feature allows you to route only specific traffic through the VPN. You could theoretically exclude Plex from the VPN tunnel, but this means your Plex traffic is no longer encrypted by the VPN. This is a trade-off between convenience and security.
Always ensure your Plex server is secure by using strong passwords and enabling 2-factor authentication, as outlined in our privacy guides.
Final Checklist for a Leak-Free NAS
To ensure your Synology NAS and Plex server are completely secure from DNS leaks, run through this quick checklist:
- ✅ You have installed a reputable VPN with a native Synology package.
- ✅ You have configured the VPN profile to use the VPN's DNS servers manually.
- ✅ The “Use default gateway” option is enabled in the VPN advanced settings.
- ✅ You have performed a DNS leak test and confirmed it shows your VPN's servers.
- ✅ Your Plex remote access is configured correctly, either via manual port forwarding or a split-tunneling setup you understand.
Don't let a simple configuration error expose your entire media library and browsing history. A DNS leak is a serious privacy risk, but it's one you can fix in minutes. Take control of your digital life today—secure your Synology NAS with a leak-proof VPN now and stream your Plex library with complete peace of mind.


Join the discussion
Have a question or a fix to add? Share it below.